This example will give you 4 perfect 2 ½” x 4 ½” blocks. I alter the size of the original squares based on what size I want the blocks to be. For example for the Madeline quilt I used 5″ for the goose and 3 ½” for the sky giving me 1 ¾ x 3 ½” blocks.
The one thing I don’t know that would really help is the math to figure out the sizes of starting squares for different size blocks. Any numbers people willing to help?
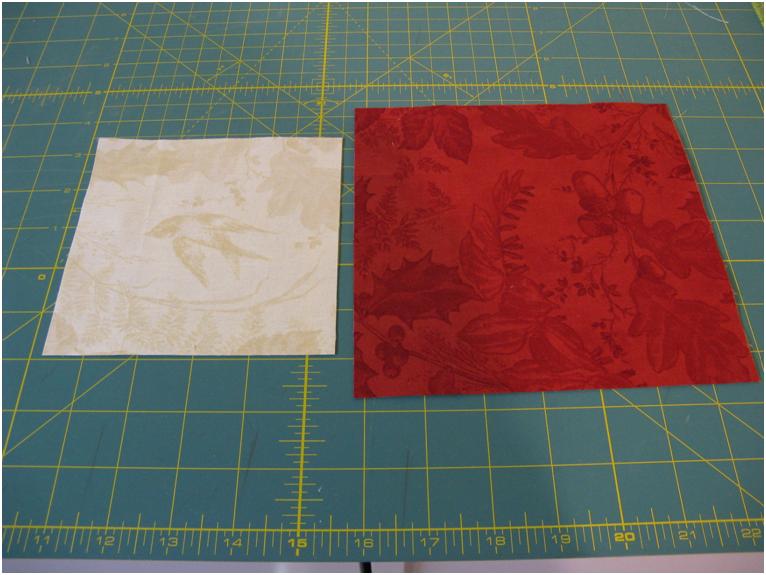
So to begin I started with a 5 ¼” square for the sky and a 7″ square for the geese.
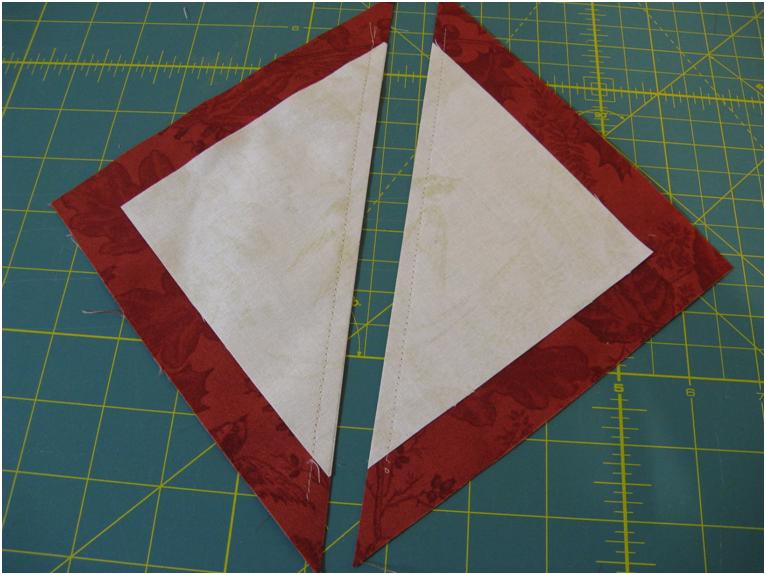
With right sides together and the smaller block centered on the larger block, draw a diagonal line down the centre and sew a smidge smaller than a ¼ seam on each side of the drawn line.

At this point I like to give the unit a quick press. Now cut this unit down the centre line (your drawn line)
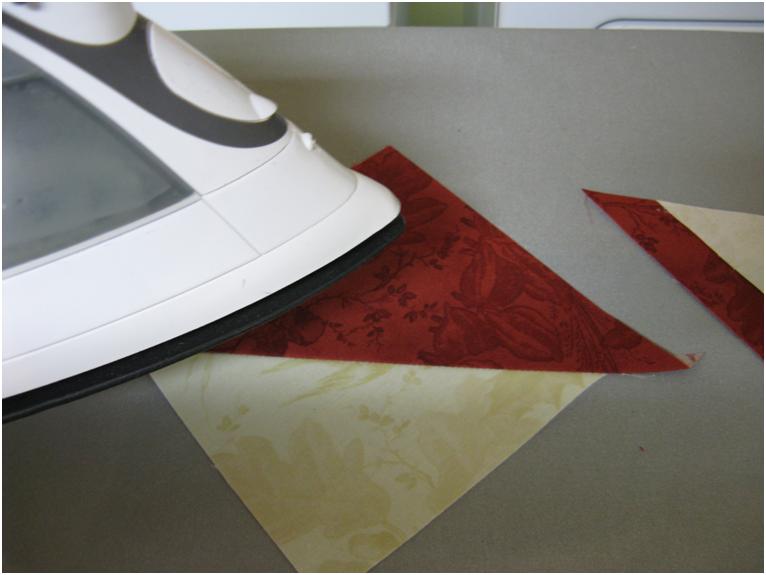
Press both units open (I usually press to the dark) These Half square triangle units do look pretty odd
 Now place one unit over the other dark to light and light to dark corners matching (other than their funny tails)
Draw a line again down the Centre as shown and sew a smidge smaller than a ¼” seam along both sides of the line and cut the two sections apart on the drawn line

And press the units open giving you these very interesting units.

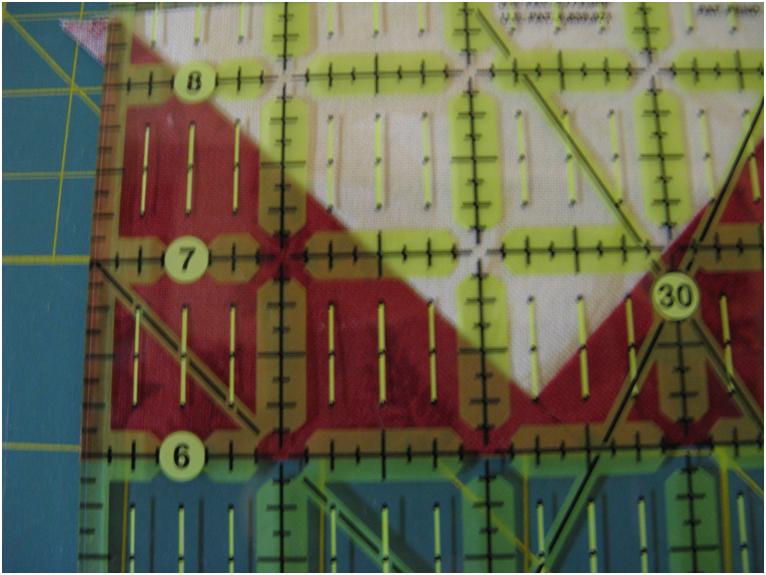
Now using a ruler with a 45 degree marking, line up the ruler as shown, making sure to allow for the ¼” seam allowance on top, and cut the unit apart, now turn the unit and cut to make it a perfect 2 ½” width.
 Next align the ruler so that you have it centred on the block to the size you want in this case 2 ¼” and trim the side and finally trim the other side to make a perfect unit.


Let me know if you have any comments or suggestions. This technique works so well for me that I find myself looking for projects using flying geese units just so that I can make some more J

Cool technique! I have to admit that I generally paperpiece my flying geese, even though I’ve got Eleanor Burn’s ruler too.
LikeLike