Wendy's Longarm Quilting, Thunder Bay, Ontario

Inspiration, Quilt Backs and Fuelled by Fabric

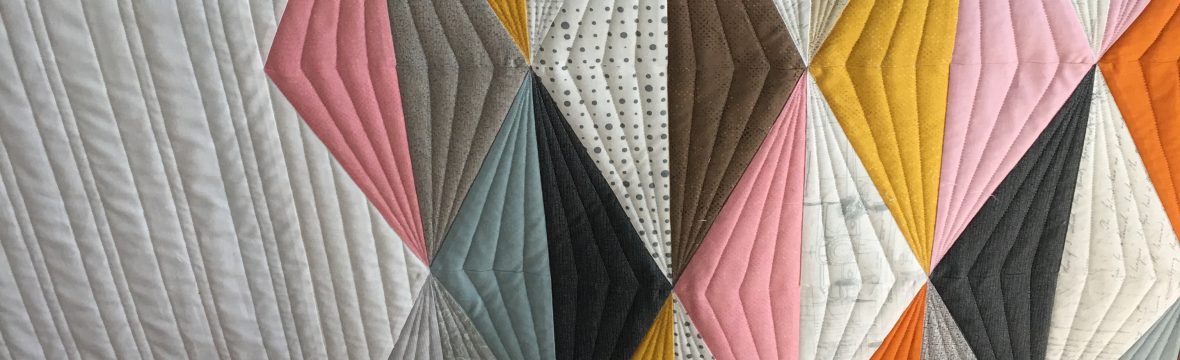
Have you ever come across someone’s quilt that not only the top caught your eye but the back as well?

Early this winter my brain really needed a break from all of the world happenings and so I started reading new to me blogs. There were some that I ended up reading from their start to their most recent posts…oh the inspiration out there!

One blog that caught my eye and interest is this one https://louisaenright.com

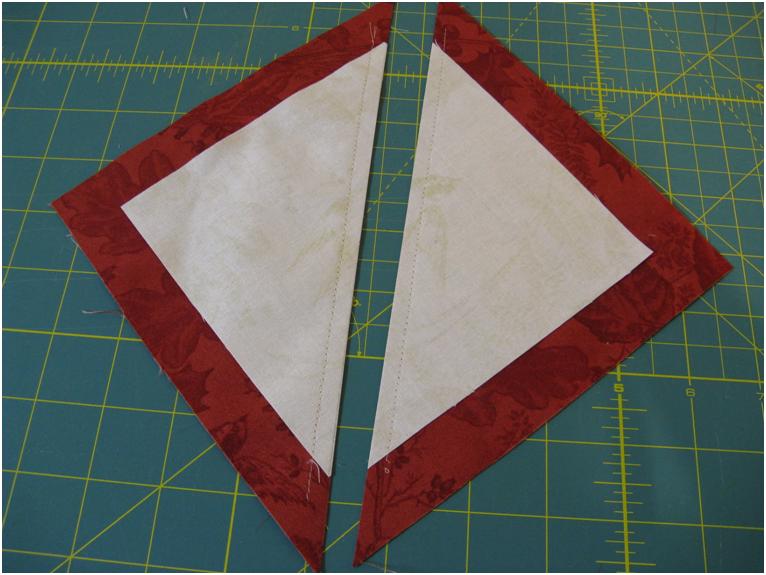
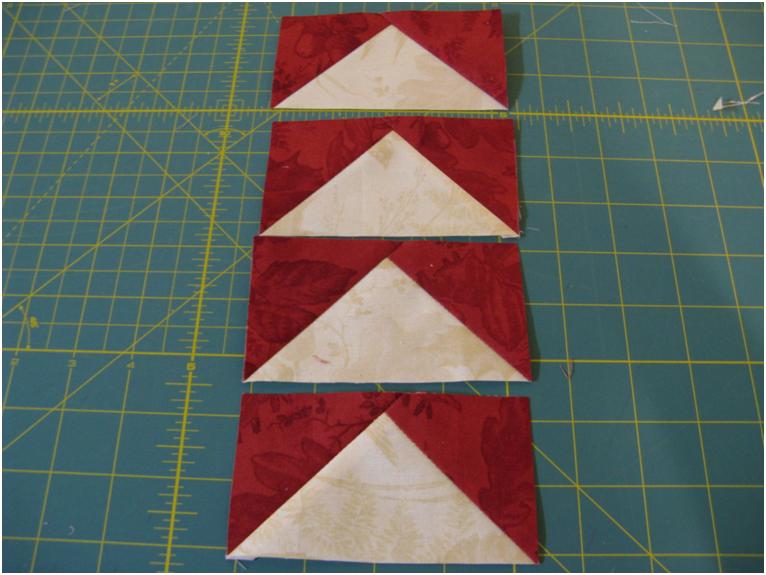
Louisas design wall when I found her held two scrap quilts that looked like a lot of fun to piece. One was her gaggle of geese, she has a tutorial on her blog to make these geese one at a time which is very helpful when using scraps.

Gaggle of Geese by Louisa Enright

“A Gaggle of Geese” Quilt

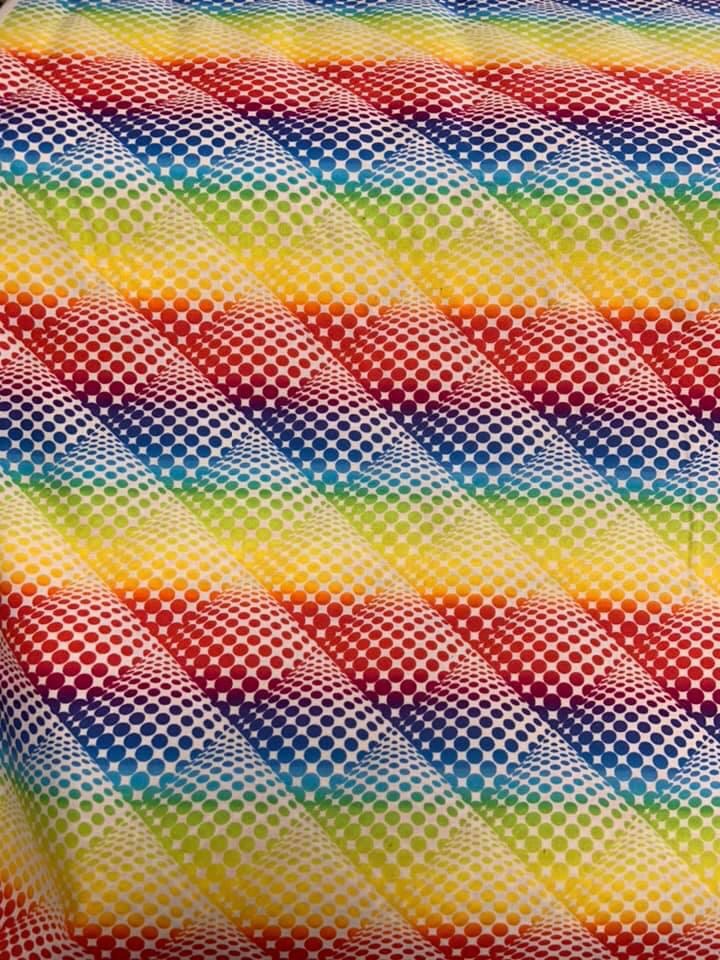
I really love the top and those who know me know that I love piecing flying geese and have a wonderful collection of scraps…so this style quilt is on my to do list. I also couldn’t help myself but to source the backing that she used.

I started by checking with my friend Donna who owns and runs a Quilt Bus that she named Fuelled by Fabric.

https://www.cbc.ca/news/canada/thunder-bay/fuelled-by-fabric-quilt-bus-1.4759406

Donna normally travels with her bus/quilt shop all over North Western Ontario with her wonderful bus full of fabric and goodies! She found the fabric and ordered a bolt which led to a trip to her shop in Pass Lake…

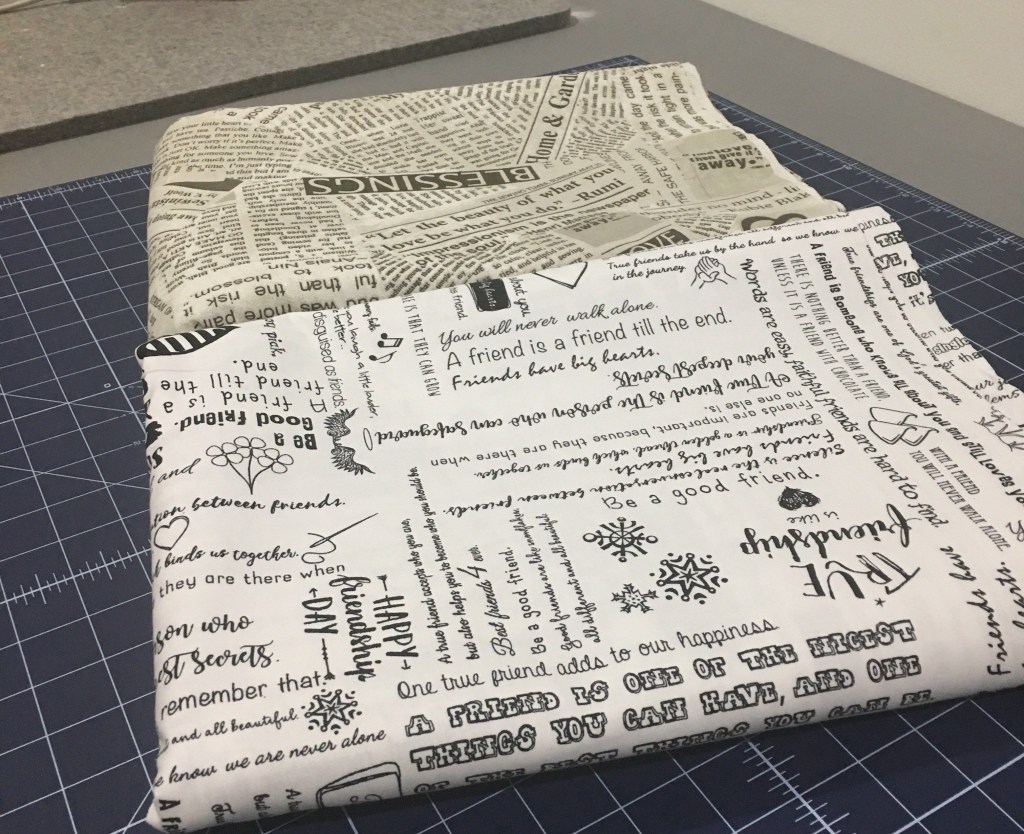
While ordering backings, Donnas husband wanted to choose one and below is the result…it is interesting I can’t wait to see the quilts it ends up on!

Uncategorized

Perfect Flying Geese

This example will give you 4 perfect 2 ½” x 4 ½” blocks. I alter the size of the original squares based on what size I want the blocks to be. For example for the Madeline quilt I used 5″ for the goose and 3 ½” for the sky giving me 1 ¾ x 3 ½” blocks.

The one thing I don’t know that would really help is the math to figure out the sizes of starting squares for different size blocks. Any numbers people willing to help?

So to begin I started with a 5 ¼” square for the sky and a 7″ square for the geese.

With right sides together and the smaller block centered on the larger block, draw a diagonal line down the centre and sew a smidge smaller than a ¼ seam on each side of the drawn line.

At this point I like to give the unit a quick press. Now cut this unit down the centre line (your drawn line)

Press both units open (I usually press to the dark) These Half square triangle units do look pretty odd

Now place one unit over the other dark to light and light to dark corners matching (other than their funny tails)

Draw a line again down the Centre as shown and sew a smidge smaller than a ¼” seam along both sides of the line and cut the two sections apart on the drawn line

And press the units open giving you these very interesting units.

Now using a ruler with a 45 degree marking, line up the ruler as shown, making sure to allow for the ¼” seam allowance on top, and cut the unit apart, now turn the unit and cut to make it a perfect 2 ½” width.

Next align the ruler so that you have it centred on the block to the size you want in this case 2 ¼” and trim the side and finally trim the other side to make a perfect unit.

Let me know if you have any comments or suggestions. This technique works so well for me that I find myself looking for projects using flying geese units just so that I can make some more J