Somehow it’s mid November! The leaves have all fallen and the last few mornings have been frosty but for the most part the daytime temperatures have been mild for this time of year.
Where have I been? Busy quilting for the most part.
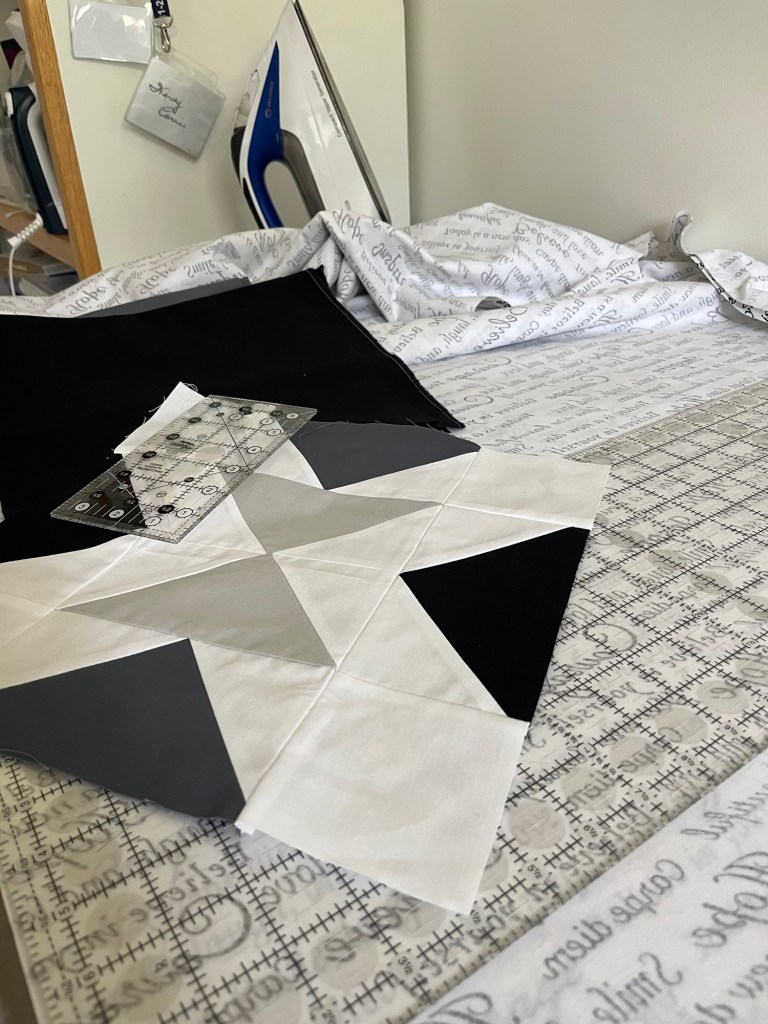
I have completed several jobs and some I do not have permission to share yet. One was a large queen sized quilt with scallop edges that I hand stitched the binding down…
And then….
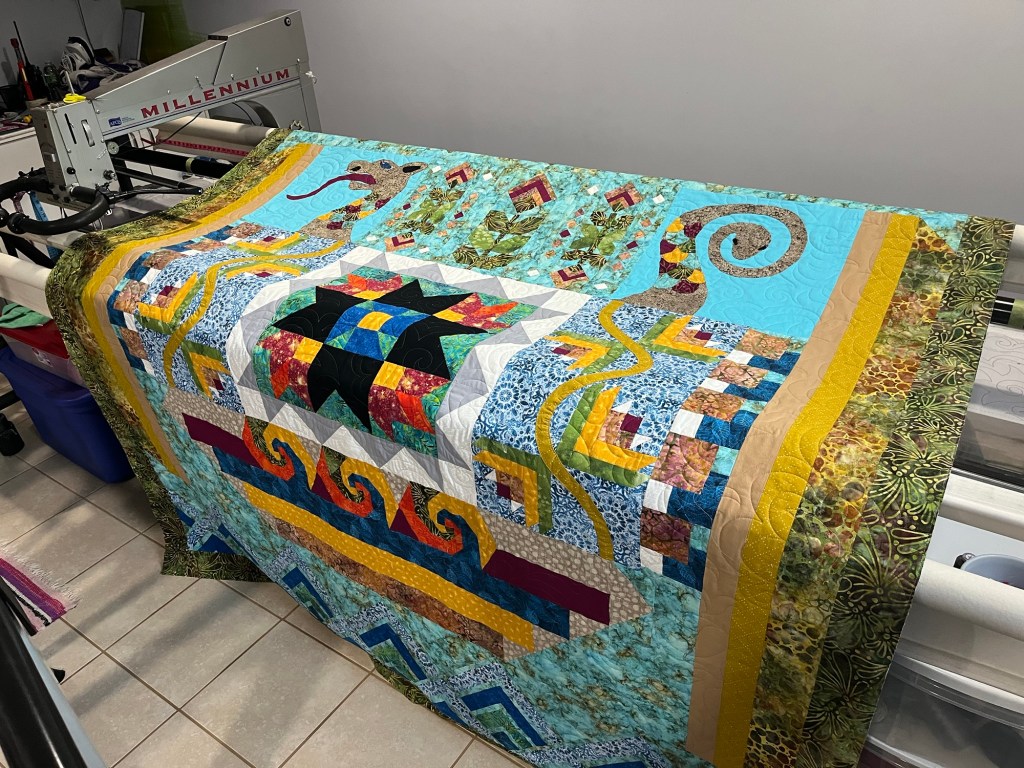
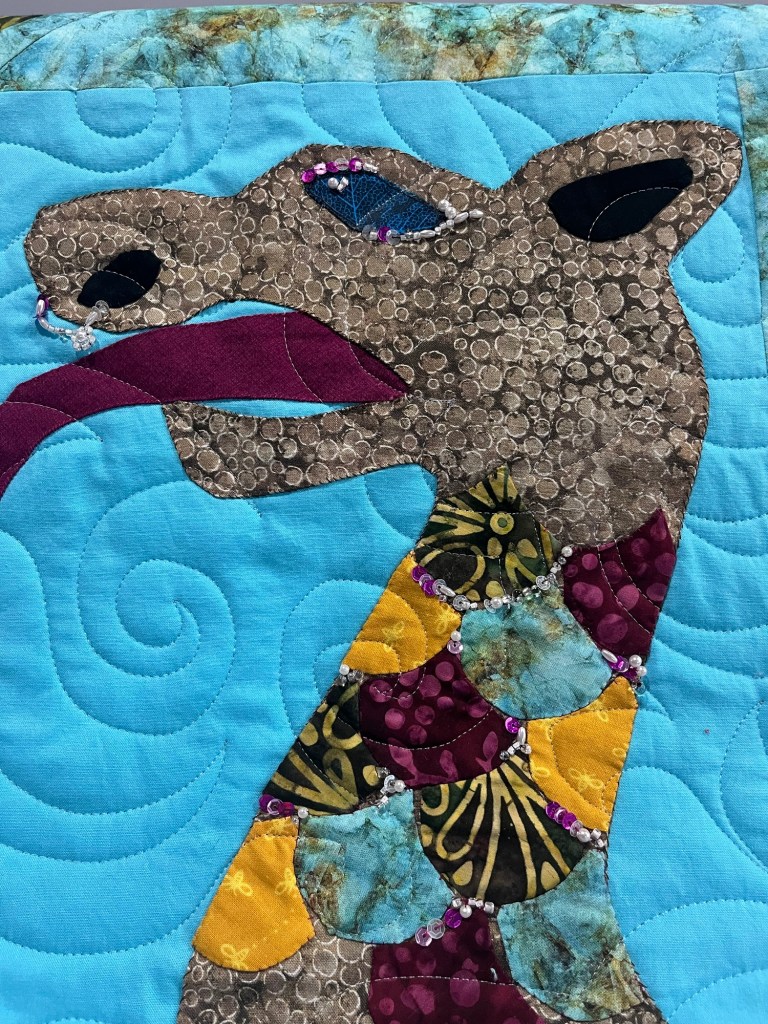
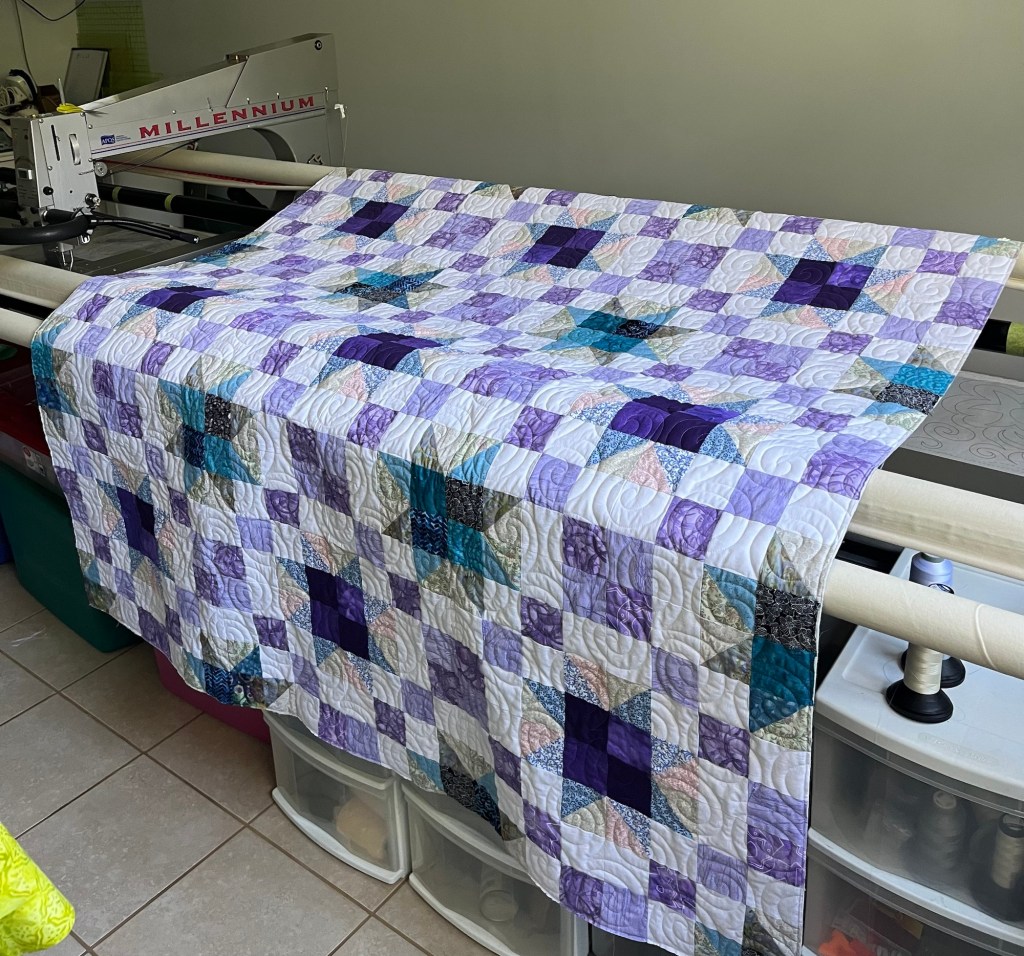
One of the true joys in Longarm quilting for others is helping to finish quilts that have a lot of meaning to the owner. This fall I had the pleasure of finishing 3 quilts that were my customers Moms final quilts along with my customers first quilt.
I will write separate blog posts for each starting with this one of her Moms.
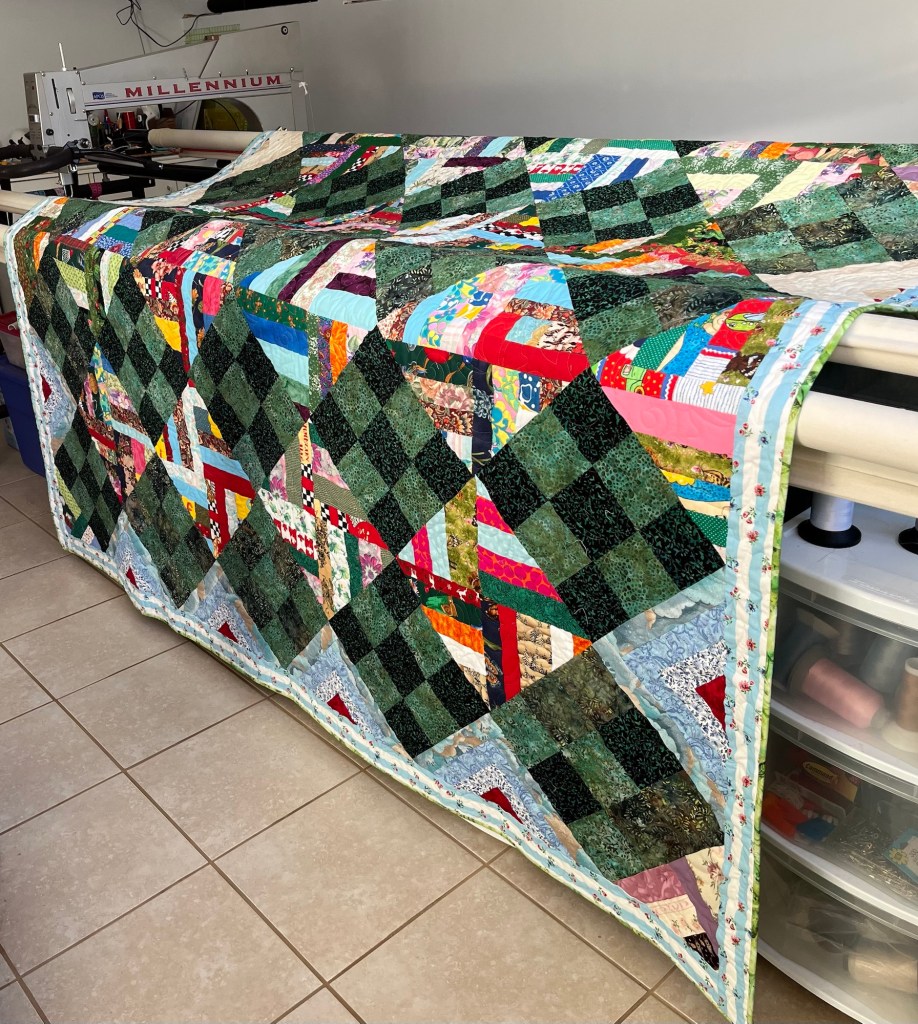
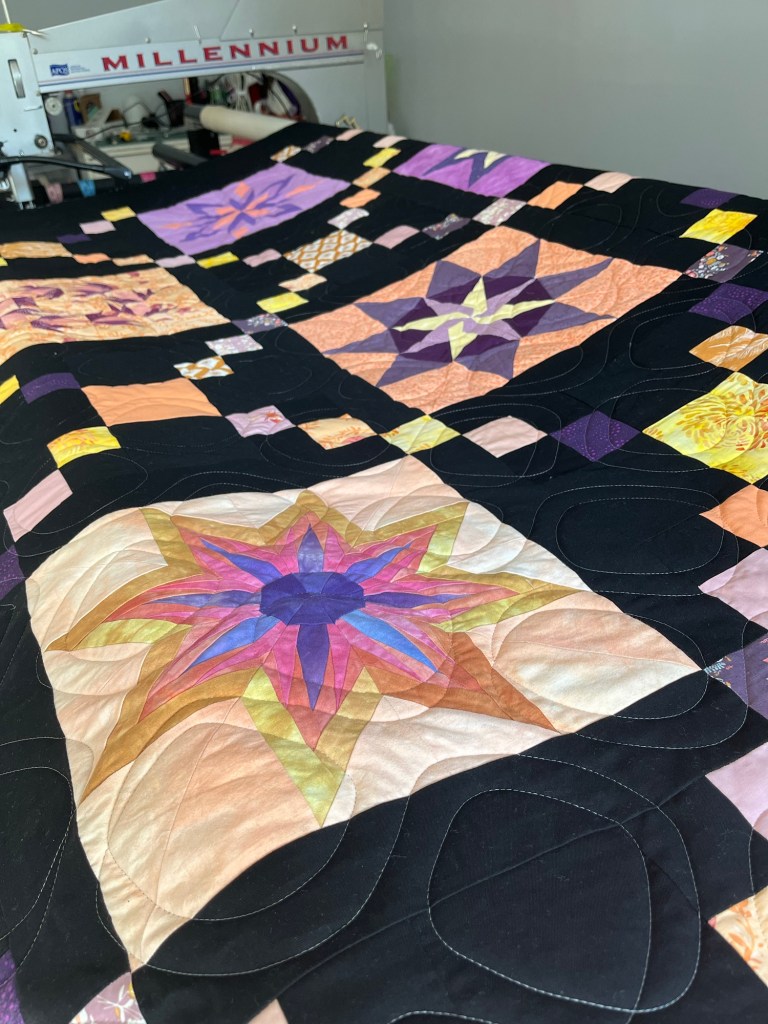
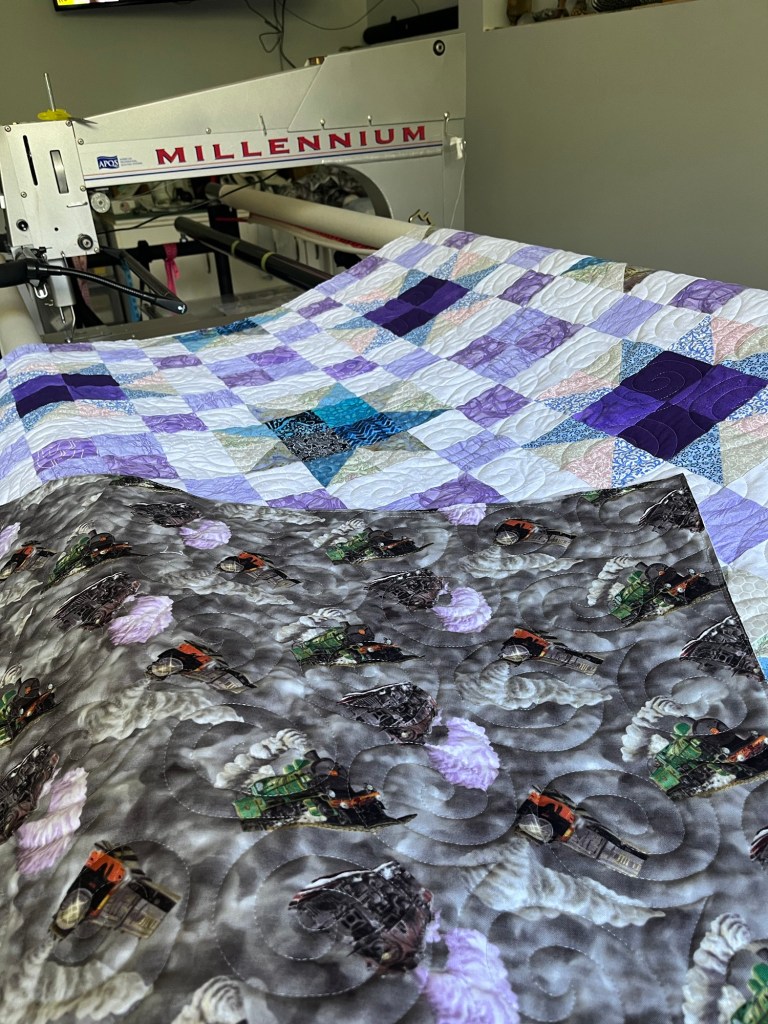
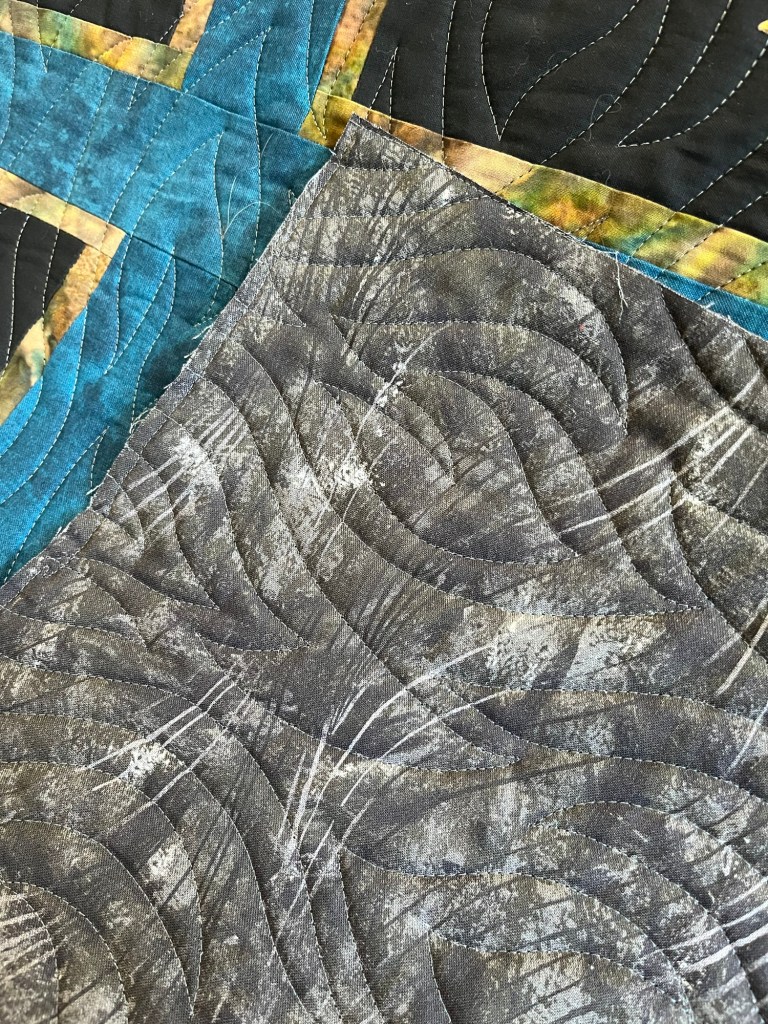
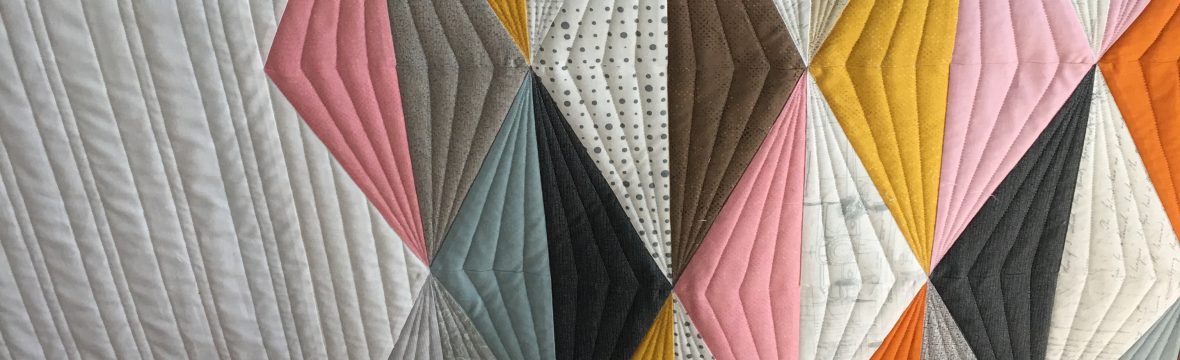
Anyone who knows me knows that I love scrap quilts and this one was no exception. There are several fabrics in this quilt that were not quilting cottons and some appeared to be from some time ago reminding me of my childhood. Ok the 70’s
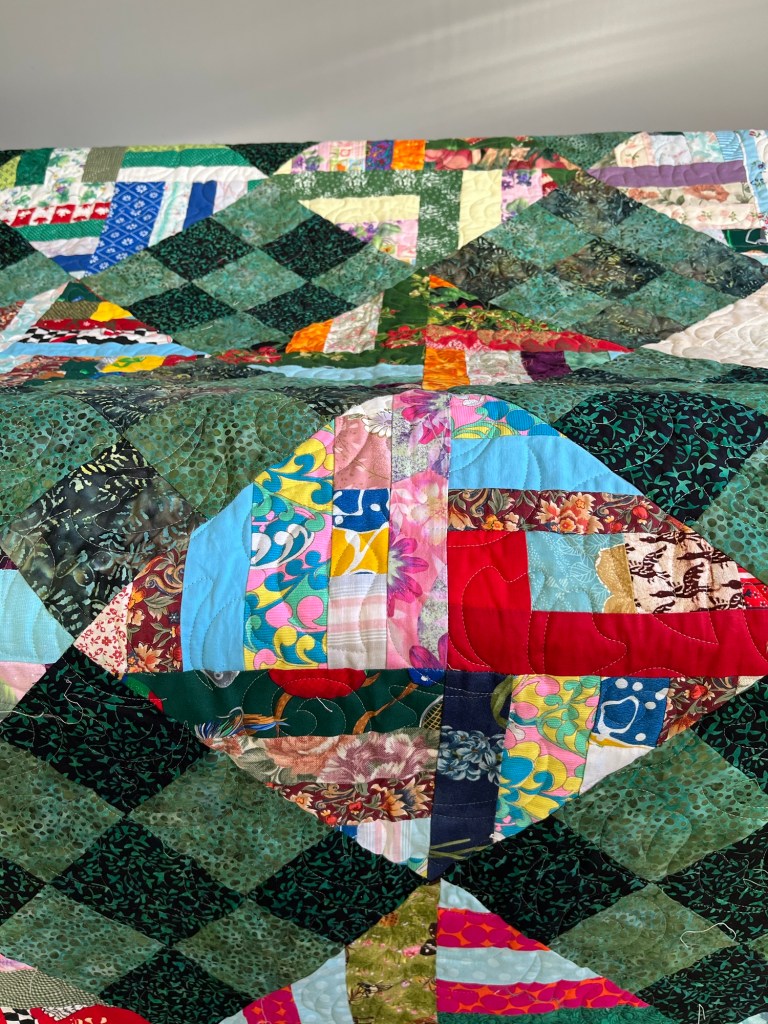
This quilt required a little TLC and I did my best to add extra stitches where needed.
I recently read a post from a Longarm quilter on Facebook about a quilt she was working on that some of the seams didn’t quite meet and wondering why any quilter would miss that. One response was perhaps the quilter is aging and her eyesight isn’t what it once was.
I happily made the necessary repairs hoping that one day if that is me someone might come along and do the same.
Having quilted for others for almost 20 years I have learnt many ways to tackle issues that come with some quilts. Special quilts that need to be completed.

I did consider removing the final border and reapplying it but reconsidered due to all of the bias involved.
Instead I made gentle pleats as needed and hand stitched them down after quilting.

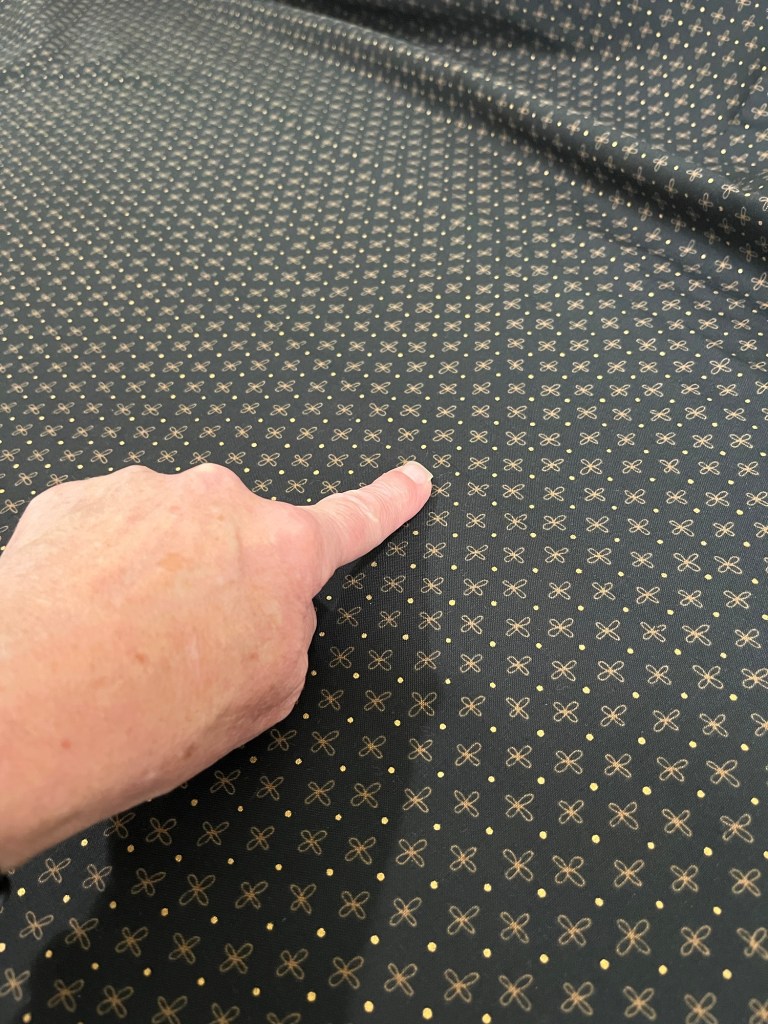
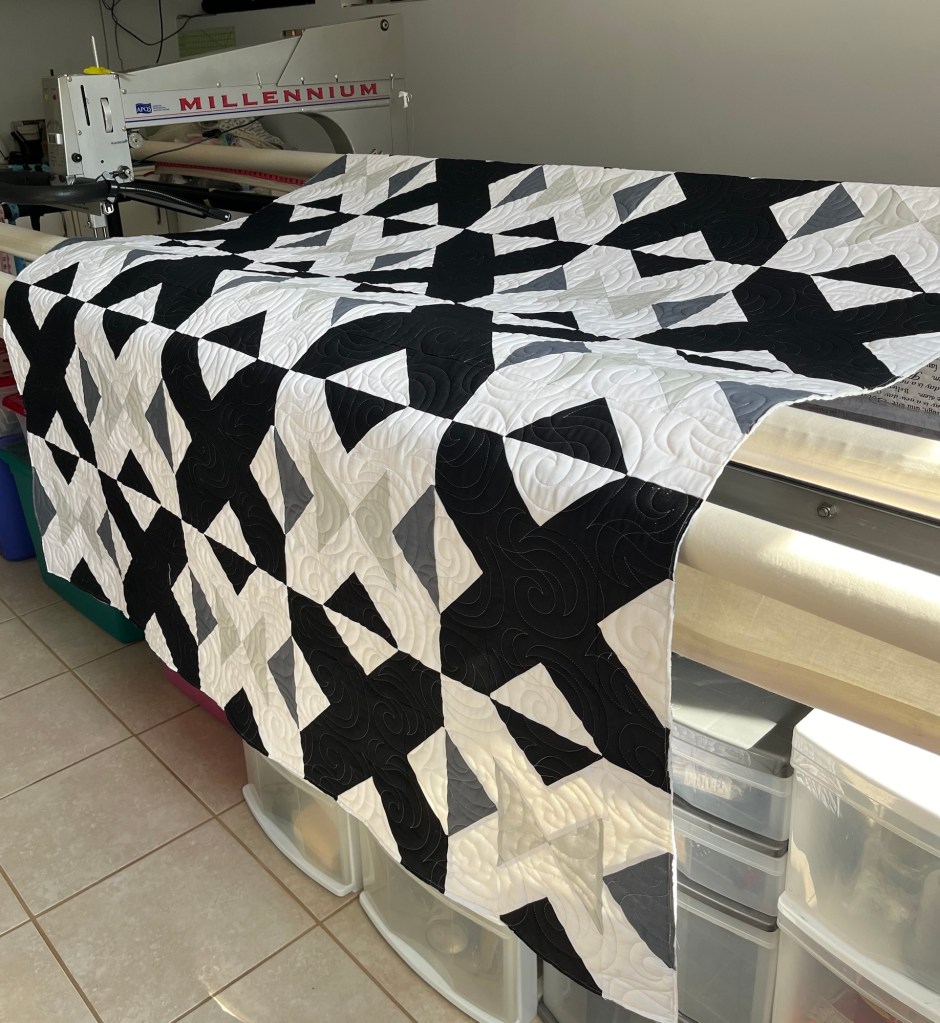
My customer brought me the 4 quilt tops and requested that I choose the backings which I did and ordered them with her approval.
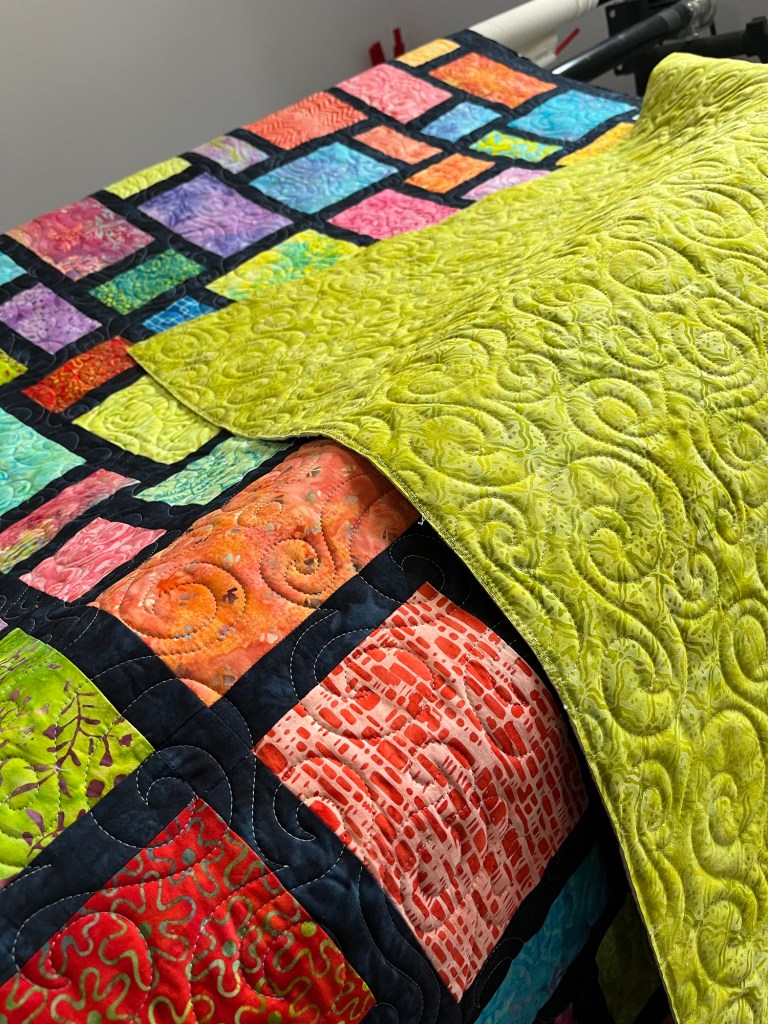
Sometimes using the same fabric for the binding just works.
I carry Hobbs 80/20 on the roll for customer quilts, I do my best to get the very best price that I can so that I can pass that along.